Qualcomm Diagnostic Mode or DIAG Mode is useful for changing the IMEI or repair baseband on your phone using QPST, WriteDualIMEI, and other tools. If you are facing "cannot find DIAG COM Port" or similar error, then follow the steps listed in this tutorial to enable Qualcomm Diagnostic Mode or activate DIAG Mode.
What is DIAG Mode?
Qualcomm DIAG Mode is a special diagnostic mode available on Qualcomm Snapdragon processor powered smartphones. When the Qualcomm Diagnostic Mode is enabled on your phone, it opens the DIAG port that helps to write or repair IMEI number using tools like QPST Tool, QFIL Tool, and other tools.
It is worth mentioning that for MediaTek (MTK) chipset powered devices, we use the Miracle Box tool to repair IMEI number, and DIAG COM Port is not required to repair IMEI on MediaTek and other processors like Spreadtrum, etc. But if you want to repair IMEI on any Qualcomm devices like Samsung, Oppo, Vivo, Xiaomi, OnePlus, Nokia, Lenovo, LG, and Motorola, then the diag port is required.
PLEASE NOTE
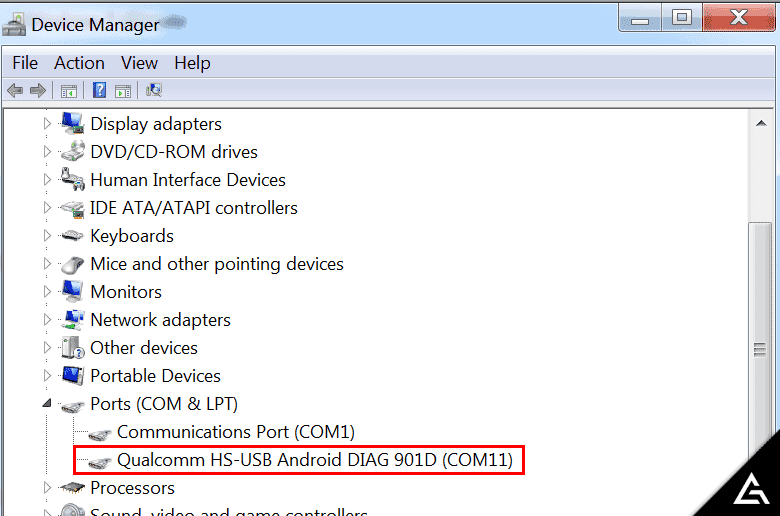
DIAG Port (Qualcomm HS-USB Android Diag 901D) and Qualcomm HS-USB QDLoader 9008 are separate things. Android DIAG 901D is a diag port, and HS-USB QDLoader is an EDL Mode (Emergency Download Mode).
To fix IMEI or repair baseband, it is required that your device has proper root permissions. So, make sure your device is rooted and have proper Root permissions.
How to Enable/Activate Qualcomm Diagnostic Mode on Android
There are three different methods to enable Qualcomm Diag port on your Qualcomm device. Check out all the methods below, and if one method doesn't work, then follow the other method.
[A.] Activate Qualcomm Diagnostic Mode using Diag Port Code (Dial Number)
[B.] Enable DIAG port using ADB diag Command Method
[C.] Activate Diag port using Terminal Emulator App (APK)
Enable Diag Mode using Secret Code
Some phones support activating Diag mode using the secret code. Follow the below steps to see if this method works on your device.
Open phone dialer app on your device and type #*#717717#*#*. It should enable Diag Mode, and fix cannot find DIAG COM Port error. If nothing happens, then try other methods listed below.
Enable / Activate Diag Mode from ADB
In this method, we will make use of ADB commands to enable Diag Mode. It requires that you have rooted your device and have proper root permissions.
- Install ADB and Fastboot drivers on your PC from here. Also, make sure to install the suitable Android USB Driver for your device model.
- Enable USB Debugging on your device from Settings > Developer Options. If Developer Options are missing, enable them from Settings > About Phone and tap on Build Number for about 7-10 times.
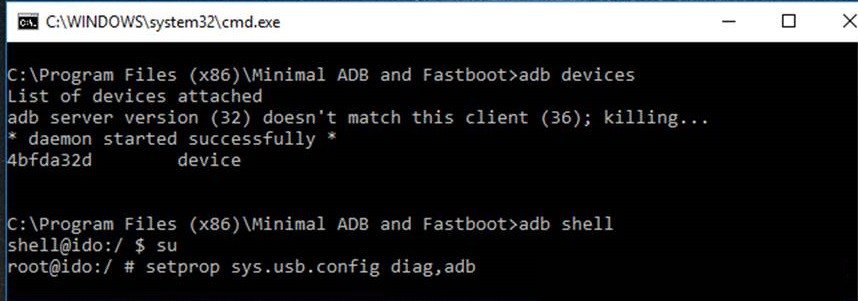
- Connect your device to PC and enter the below command.
adb devices
 This command lists the devices connected to PC with USB Debugging enabled. If your device doesn't show up in the list, then make sure you have installed ADB, Fastboot, and USB Drivers properly.
 - Now, type the below command and hit enter:
adb shell
This command enables Android Debug Shell. Using ADB Shell, we can perform several system actions.
- Now, enter the below command in CMD window and hit enter:
su
This command requests superuser / Root permissions. Once the permissions are allowed, all the commands will run as the superuser.
- Finally, enter the below command to enable the Diag mode or Qualcomm DIAG port.
setprop sys.usb.config diag,adb
- Now, your device should be detected as Qualcomm HS-USB Android DIAG 901D in Device Manager.

Enable Qualcomm Diagnostic Mode using Terminal APK
- Make sure your device is rooted and have proper root permissions.
- Install Terminal Emulator app from here.
- Connect your device to PC.
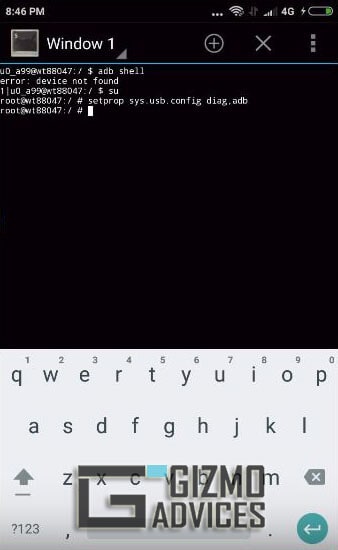
- Open Terminal Emulator App and enter the below commands:

su
setprop sys.usb.config diag,adb
- Now, your device should be detected as Qualcomm HS-USB Android DIAG 901D in Device Manager.
These are the three methods using which we can enable Diag Mode and fix cannot find the DIAG COM Port problem on Android.
Have any queries? Ask them in the comment section below.
This page may contain affiliate links so we earn a commission. Please read our affiliate disclosure for more info.
Hello,
Thank you for all of these useful information. I have a sony experia J 8010 phone and i want to root it in order to enable its diag com port…unfortunately i do not know how to do…i tried several APK found on the net but it did not work. Can you help me please ? Thank you in advance
Follow the instructions provided in the above tutorial to enable DIAG Mode.