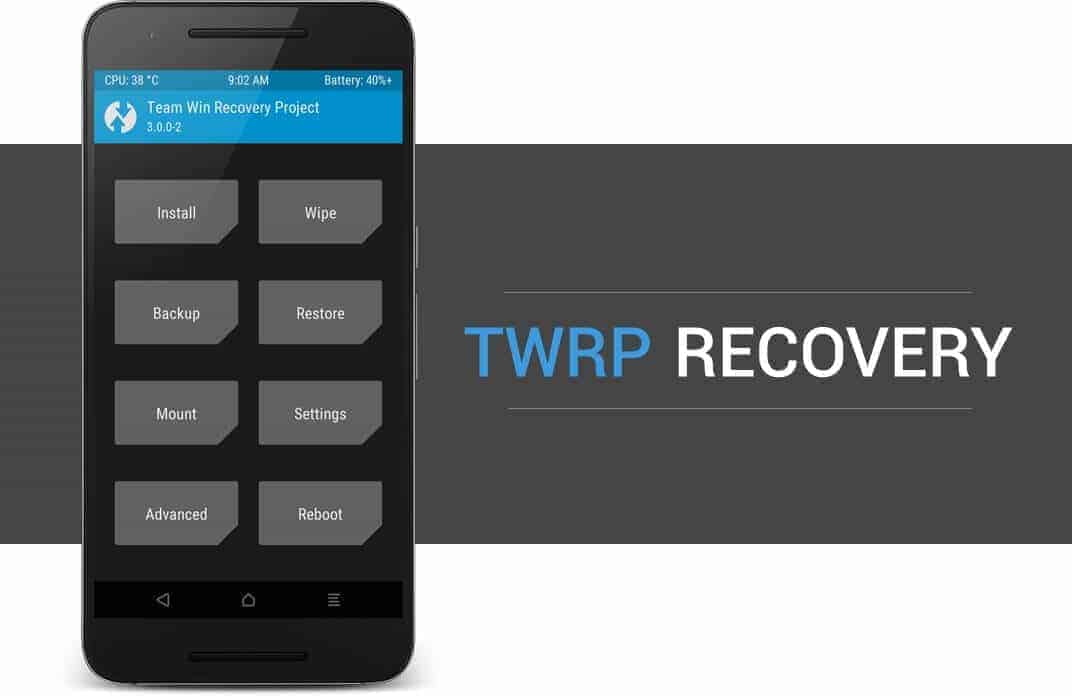
This guide lists steps on how to install TWRP Recovery via Fastboot Mode
Bootloader or Fastboot Mode allows us to flash any partition on the device. It comes in handy for many purposes like unlocking bootloader, flashing Stock ROM, flashing a particular partition like System, boot, recovery, cache, user data etc. It can also wipe the data on the device and restore the device to factory settings. Through Fastboot, not only the images from OEM’s can be flashed, but also the custom built .img files like Custom Recovery etc. can be flashed. In this tutorial, we are going to see how to flash / Install TWRP Recovery via Fastboot.
Before proceeding make sure you have unlocked Bootloader on your device if your manufacturers lock it. Instructions on How to unlock Bootloader via Fastboot can be found here.
Now that you have unlocked Bootloader, you can proceed with the below steps to install TWRP Recovery via Fastboot.
How to install TWRP Recovery via Fastboot:
Step 1: Download and install Suitable Android USB Drivers (Alternate Link) for your device from here and install them on your PC.
Step 2: Setup ADB and Fastboot Drivers (Mac) on your PC from here.
Step 3: Enable USB Debugging on your device.
- Open Settings app and navigate to About Phone.
- Now locate Build Number and tap on it for about seven times and you should see a message as Developer Options enabled!
- Go back to Settings and you’ll find Developer Options.
- Tap on it and enable USB Debugging.
Note: This process might differ from device to device.
Step 4: Download the TWRP Recovery .img file compatible with your device and rename it to twrp.img
Step 5: Copy the twrp.img file to Fastboot folder and press and hold the Shift key and right click inside the folder at the empty space and choose Open command window here.
Step 6: Connect your device to PC using appropriate USB Cable and enter the below commands in CMD:
adb reboot bootloader
If your device asks for permissions to “Allow USB debugging”, tap OK. This command boots the device into Fastboot Mode.
Step 7: Once the device is in Fastboot Mode enter the below command:
fastboot flash recovery twrp.img
This command flashes the Recovery partition of the device with the twrp.img. Thus flashes or installs TWRP Recovery on your device.
If you don’t wish to permanently flash the TWRP Recovery on your device, but just want to use it temporarily or until reboot then you can use the below command:
fastboot boot twrp.img
This command boots twrp.img file without permanently flashing it to the Recovery partition.
Step 8: Once the TWRP Recovery is installed enter the below command to boot the device into normal mode.
fastboot reboot
That’s all. Now you have successfully installed TWRP Recovery via Fastboot on your device. We hope this tutorial helped you in serving your purpose.
Have any questions? Let us know in the comment section below.
Tip: Flashed the wrong TWRP Recovery on your device? Follow the instructions on How to Fix Recovery Bootloop on Android Device here.
This page may contain affiliate links so we earn a commission. Please read our affiliate disclosure for more info.
JOIN THE DISCUSSION: